Pika Art Tutorial: Achieving Cinematic Motion from Static Images
Master the pika art tutorial to convert static images into high-quality cinematic clips using advanced image to video ai motion controls.
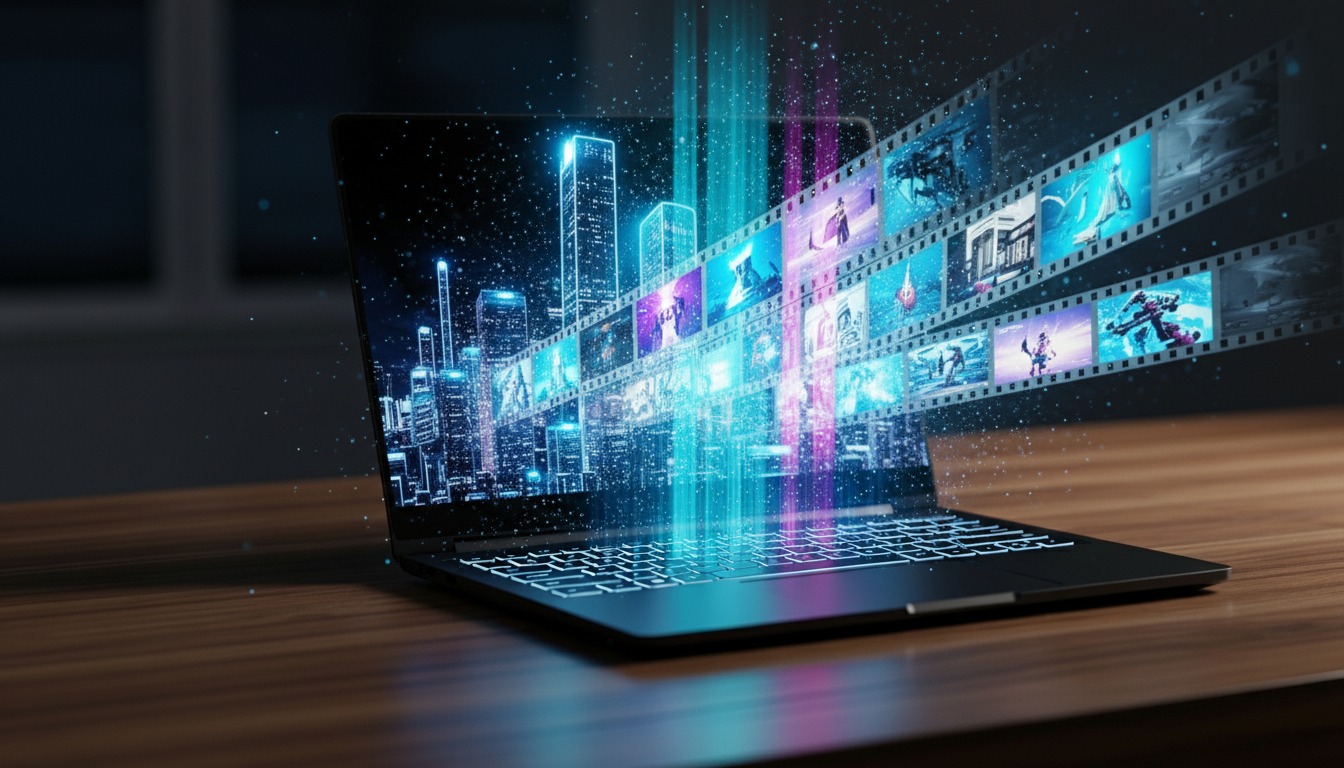
Creating professional-grade visual sequences no longer requires a full production suite. While many creators are familiar with the broader image to video ai category, the challenge often lies in moving beyond unpredictable, automated animations toward intentional, cinematic motion.
Most users approach generative video by simply uploading an image and clicking generate. While this produces movement, it rarely produces a specific narrative result. This pika art tutorial focuses on the technical precision required to transform a static asset into a controlled, professional clip.
Step 1: Image Selection and Asset Preparation
The quality of your output is directly correlated to the structural integrity of your input. Pika Art excels at interpreting depth and texture, so selecting an image with clear foreground and background separation is essential.
- Navigate to the Pika.art web interface.
- Select the Image icon to upload your base asset.
- Ensure your image aspect ratio matches your intended output (e.g., 16:9 for YouTube or 9:16 for TikTok/Reels) to prevent unwanted cropping during the generation process.
Step 2: Configuring Motion Parameters
Rather than relying on the default settings, professional workflows require manual adjustment of the Motion slider.
- Motion Level: Set this between 1 and 4 for subtle, realistic movements like hair blowing or clouds drifting. Higher levels (5-10) are optimized for high-action sequences but may introduce more visual artifacts.
- Camera Controls: Utilize the Pan, Tilt, and Rotate functions to simulate physical camera gear. For a cinematic look, a slight Zoom In combined with a low Motion setting often yields the most stable results.
Step 3: Utilizing the Region Modification Tool
One of the more sophisticated features in the Pika ecosystem is the ability to modify specific areas of an image without altering the entire frame.
- Click on the Edit button after your initial upload.
- Select Modify Region.
- Use the brush tool to highlight the specific area you want to animate (e.g., just the eyes of a character or the water in a landscape).
- Enter a specific prompt for that region, such as “flowing water” or “blinking.”
Step 4: Refining with Negative Prompts
To maintain visual fidelity, the use of the Negative Prompt field is necessary. This tells the AI what to avoid during the diffusion process.
- Common Negative Prompts: “Distortion, morphing, blurred face, extra limbs, low resolution.”
- By defining these boundaries, you force the engine to prioritize the structural consistency of your original image.
Step 5: Upscaling and Exporting
Once the 3-second preview meets your requirements, you can extend or enhance the clip.
- Use the Upscale button to increase the resolution and sharpen the details.
- If the sequence needs to be longer, use the Add 4s feature, which uses the final frame of your current clip as the starting point for the next, ensuring continuity.
- Download the final file in MP4 format for integration into your video editor.
The Verdict
Tools like Runway or Luma Dream Machine offer powerful generalist capabilities for generating video from text. However, Pika Art is specifically optimized for creators who prioritize granular control over specific regions of an image. By following this workflow, you transition from a passive user to a technical director, ensuring your cinematic clips serve a specific purpose in your content strategy.
Guided by a decade of expertise in digital marketing and operational systems, The Nexus architects automated frameworks that empower creators to build high-value assets with total anonymity.
the big picture
The Master Blueprint for Faceless AI Content: From Synthetic Art to High-Output Video
Architect your faceless brand with our ultimate roadmap. Master AI image generation, consistent characters, and cinematic video workflows.